Product #
Description
#
Add
A-43025
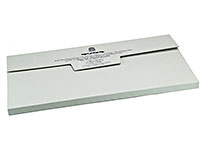
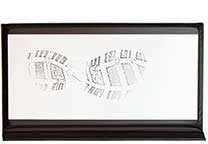
SolePrint, set of 2 impression pads, coater and 100 sheets of paper
A-43700
100 sheets of paper for SolePrint
A-43510
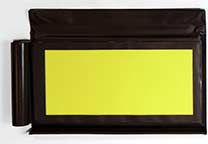
Coater, inkless printing pad in folder
The printing paper is BPA-free and the reagent in the yellow pad is free from harmful chemicals. We do, however, recommend that you wear latex or nitrile gloves when working with the kit. Wash skin with water in case of contact.
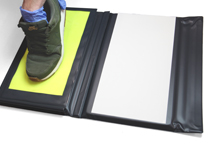
1. Place folder with the foam impression pads on a bench top. Alternatively, you can place the impression pads on the floor. The folder is magnetically hinged making it easy to separate the two parts. Once separated the impression pads can be placed in the preferred position.
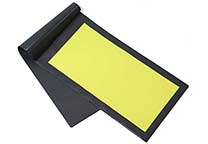
2. Open the coater, this is the thin folder holding the yellow printing pad, and place it on one of the impression pads and a sheet of printing paper on the other pad. Note that only one side of the printing paper is sensitive; make sure the sensitive side is facing upwards. You can test this by quickly swiping your nail in one of the corners of the paper; a black line should appear at the sensitive side of the paper.
3. Press the shoe on the yellow pad making a ‘walking’ motion so that the shoe’s sole is fully covered with the fluid transferred from the yellow pad to the sole. Next, press the shoe on the sheet of printing paper making a similar walking motion starting at the heel of the shoe.
Alternatively, with the impression pads on the floor and the shoe on your foot, walk over the yellow pad and then walk over paper sheet.
Warning: there is a risk of slipping when walking over the foam pad. Support the person making the impression by holding his/her arm or make sure that the person is able to support him/herself sufficiently.
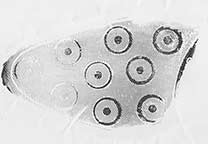
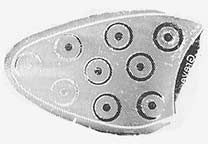
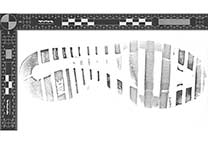
4. Within seconds the print of the sole will start to develop on the paper sheet. Allow the print to fully develop until a black print is visible. Normally this is a matter of less than a minute.
5. Once finished close the folder containing the yellow pad. Although the reagent contained in the pad will only evaporate very slowly, this will extend the life time of the pad.
6. Since the prints may fade in time, it is recommended that the fully developed prints are scanned or copied.


